ASTM F1854: An Overview of Stereological Porous Coating Evaluations
With the rise of electron beam manufacturing (EBM), direct metal laser sintering (DMLS), and selective laser melting (SLM), new and complex coating geometries are being developed which require advanced techniques and expertise to help manufacturers understand the unique properties of their unique coatings and substrates.
While porous coating testing involves multiple mechanical test methods (shear, tensile, abrasion, and fatigue testing), there is also a comprehensive stereological coating evaluation that can be performed in accordance with ASTM F1854.
The four unique sections of this stereological evaluation standard outline overall porosity and thickness measurements that are critical to understanding the coating performance as it relates to bone ingrowth and substrate adhesion. Sintered bead, plasma spray, and additive manufactured (3D printed) coatings routinely undergo stereological evaluations by Element scientists per any or all of the sections listed below:

Mean Coating Thickness (ASTM F1854 Section 9.1)
Evenly spaced parallel grid lines are oriented perpendicular to the coating-substrate interface on a digital field image. For each gridline, the distance from the coating-substrate interface to the last contact with the porous coating material is measured as the coating thickness. The average of all of the coating thickness measurements obtained from all the measured fields is the mean coating thickness for that coating.
Volume Percent Void (ASTM F1854 Section 9.2)
The volume percent void is found using image analysis software. The digital field images are first thresholded into black-and-white (binary) images. The software then measures the ratio of the number of pixels representing void space to the total number of pixels within the area between the substrate interface and tissue interface.
Mean Void Intercept Length (ASTM F1854 Section 9.3)
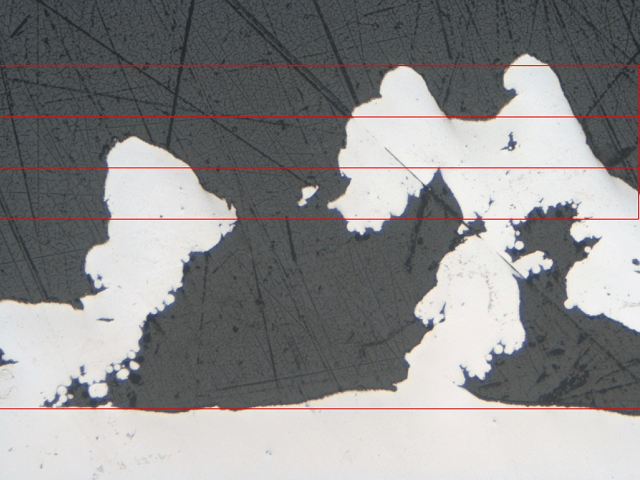
Evenly spaced measurement grid lines are oriented parallel to the substrate interface in a field. The average length of the line segments overlaying the void space is the mean void intercept length for that field. This is a representative measure of the scale, or size, of the pores in a porous structure.
Tissue Interface Gradients (ASTM F1854 Section 9.4)
The Volume Percent Void and the Mean Void Intercept Length are characterized in three 200-μm-thick zones below the Tissue Interface in each field.

Element Metallurgists have years of expertise in sectioning, mounting, polishing, and evaluating test specimens in our full service metallurgical laboratories. In addition to stereological evaluations per ASTM F1854, additional analyses such as strut diameter, pore area, grain structure, and alpha case evaluations can also be performed using state-of-the-art equipment.
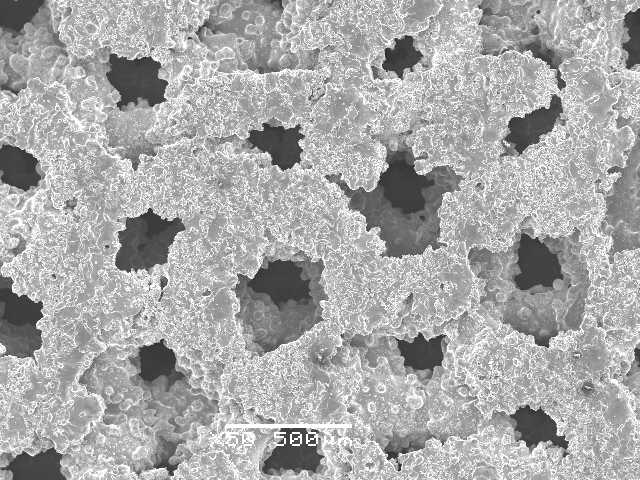
Various micro examinations are also available using light optical microscopes (LOM), scanning electron microscopes (SEM), an SEM combined with an energy dispersive spectrometer (SEM-EDS), or other techniques like X-ray diffraction (XRD).
Find related Resources


