Metallurgical Failure Analysis Helps Prevent Future Failures
When components fail, it can affect the delivery of goods and the safety of the general public as well as result in costly repairs and downtime. Performing metallurgical failure analysis to understand why a part failed is critical to preventing future failures.
In the study of a failed part, the analyst must consider a broad range of possibilities for the failure. Although some faults can be attributed to a single primary cause, it is common for multiple secondary factors to contribute. The failure analyst must evaluate all evidence available to prepare a hypothesis about the causes of failure.
The most common type of failure studied is fracture. Fractures often have the most serious consequences, especially when load-bearing members lose their ability to carry their intended load. Other types of failures may be related to distortion, wear, or corrosion.
Failure analysis tools
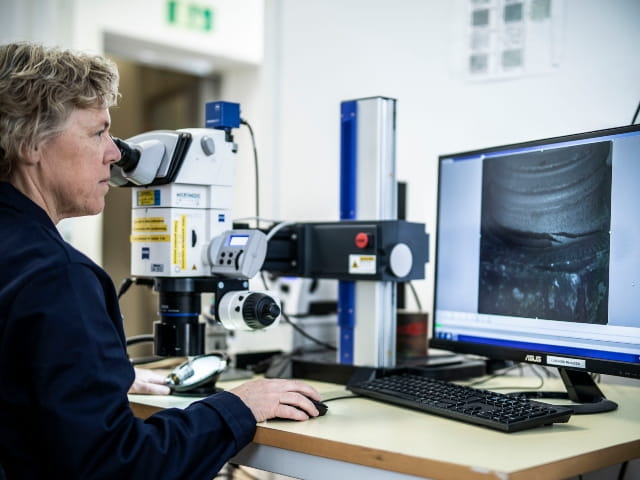
A well-equipped materials laboratory will have most of the tools to effectively analyze these types of failures. These tools include a low-power stereomicroscope, metallographic equipment, hardness testers, spectrometers, and a scanning electron microscope (SEM).
The metallurgical failure analysis process
The process of analyzing a failed part starts with the collection of background information. It is essential to know what the specified requirements for the part and the material are. That information is often available in the form of a part drawing and referenced material specifications. It is also important to know what the expected performance of the part is and how the failed part compares to that expectation. Any changes made to the manufacturing process should be reported to the failure analyst. Examples include vendor changes, design changes, material changes, thermal processing changes, etc.
The next step in the failure-analysis process is the visual examination of the metal component. Features to be noted, recorded, and photographed in the visual inspection include fractures, fracture origin regions, damage to the part, the presence of residues, corrosion products, and corrosion pits. In some cases, nondestructive testing may be warranted if cracks are not readily visible or if they may be present below the surface. Chemical analysis and hardness testing are performed in most cases to verify whether the part meets the specified requirements. If enough material is available, tensile testing and impact testing are desirable to help understand the inherent mechanical properties of the metal.
What the analysis reveals
Electron microscopy is a critical step in the metallurgical analysis of failed parts. The electron microscope is the best means of verifying the fracture mode. Visual and low-power light microscopy is often not adequate to reveal the true morphology of a fracture. For example, consider the fracture surface of a bolt head. The fracture is relatively flat, which is often associated with fatigue cracking.
A closer inspection of the fracture origin region by a low-power stereomicroscope reveals a relatively rough texture, but the morphology of the fracture is still not clear. Examination of the fracture origin region via electron microscopy reveals a mixed fracture morphology of brittle intergranular cracking and dimpled rupture. The features revealed by the scanning electron microscope verify that the fracture was not due to fatigue. Further investigation indicated the fracture was due to hydrogen embrittlement.
Metallography is an important step in the metallurgical failure analysis process. Examination of the microstructure can help verify whether proper thermal processes were applied to the part. Metallography can also identify whether material anomalies were present in the material that could have had a deleterious effect on the part’s performance.
All the pieces of the puzzle
After all the information is collected, and the analysis is complete, a conclusion can be made based on the evidence available.
The investigation can be thought of as a forensic puzzle. The more pieces of the puzzle that are in place, the more conclusive the test results will be. It is often tempting to ask the metallurgist to minimize the amount of testing performed to save time and money. It may also be tempting to withhold background information about the part for fear of biasing the metallurgist’s final conclusion. It should be understood, however, that restricting the amount of testing and withholding important information will effectively take away pieces of the puzzle that can prove critical to achieving the correct final conclusion. If the reasons for failure are not properly understood, corrective actions to prevent future failures may be ineffective.
For more information on metallurgical failure analysis, or to speak with one of our experts, contact us today.
Find related Resources

